


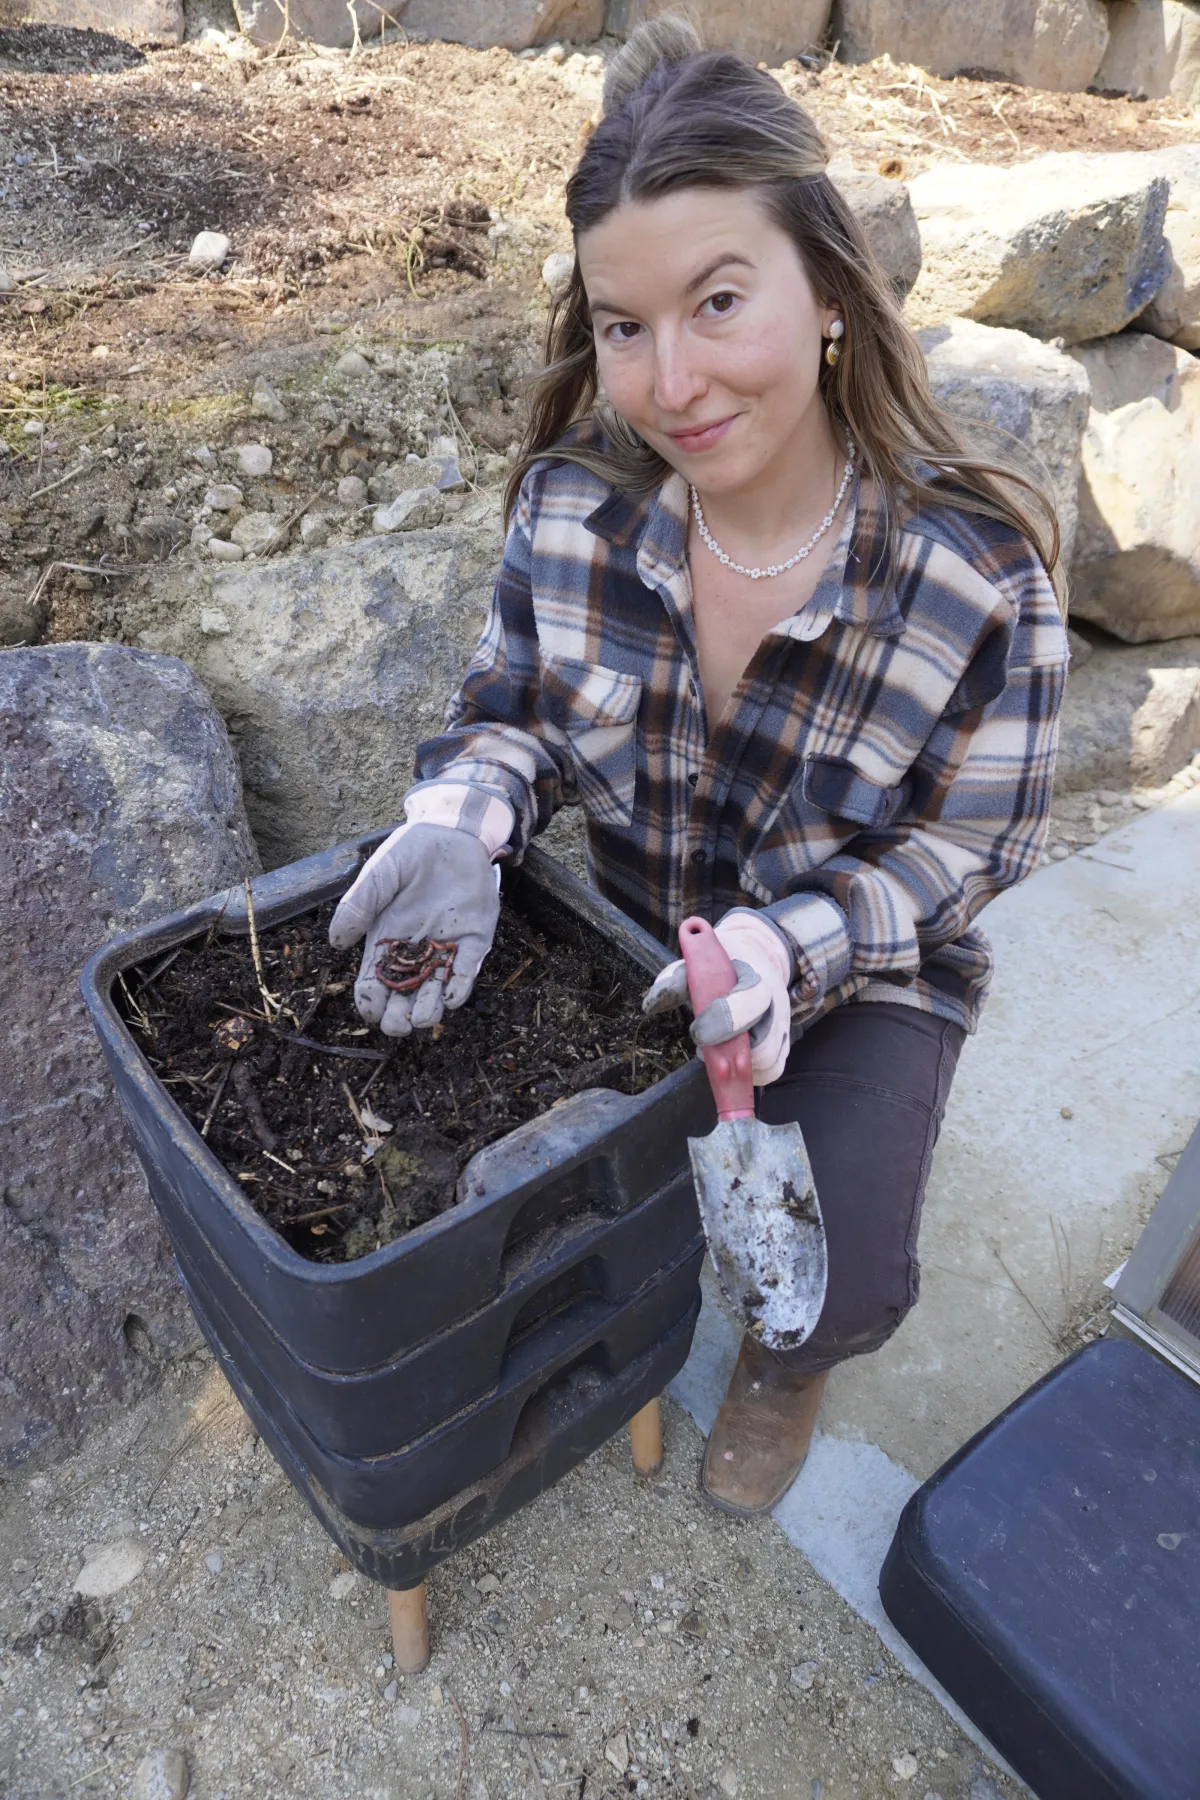
Hey, I'm Annie
I'm not here to sell you a fantasy version of homestead life.
I'm living the real thing — off the grid, in the Idaho mountains, with a flock I hatched myself, a grow room, a greenhouse, and a very strong opinion about what's in your food.
If you found me through the chemtrail content — welcome.
If you found me through the chicken content — also welcome.
They're the same page. Stick around and you'll see why.

Midwest girlie
I grew up in South Dakota. Real food came from someone you knew. Slow living wasn't a trend — it was just Tuesday.
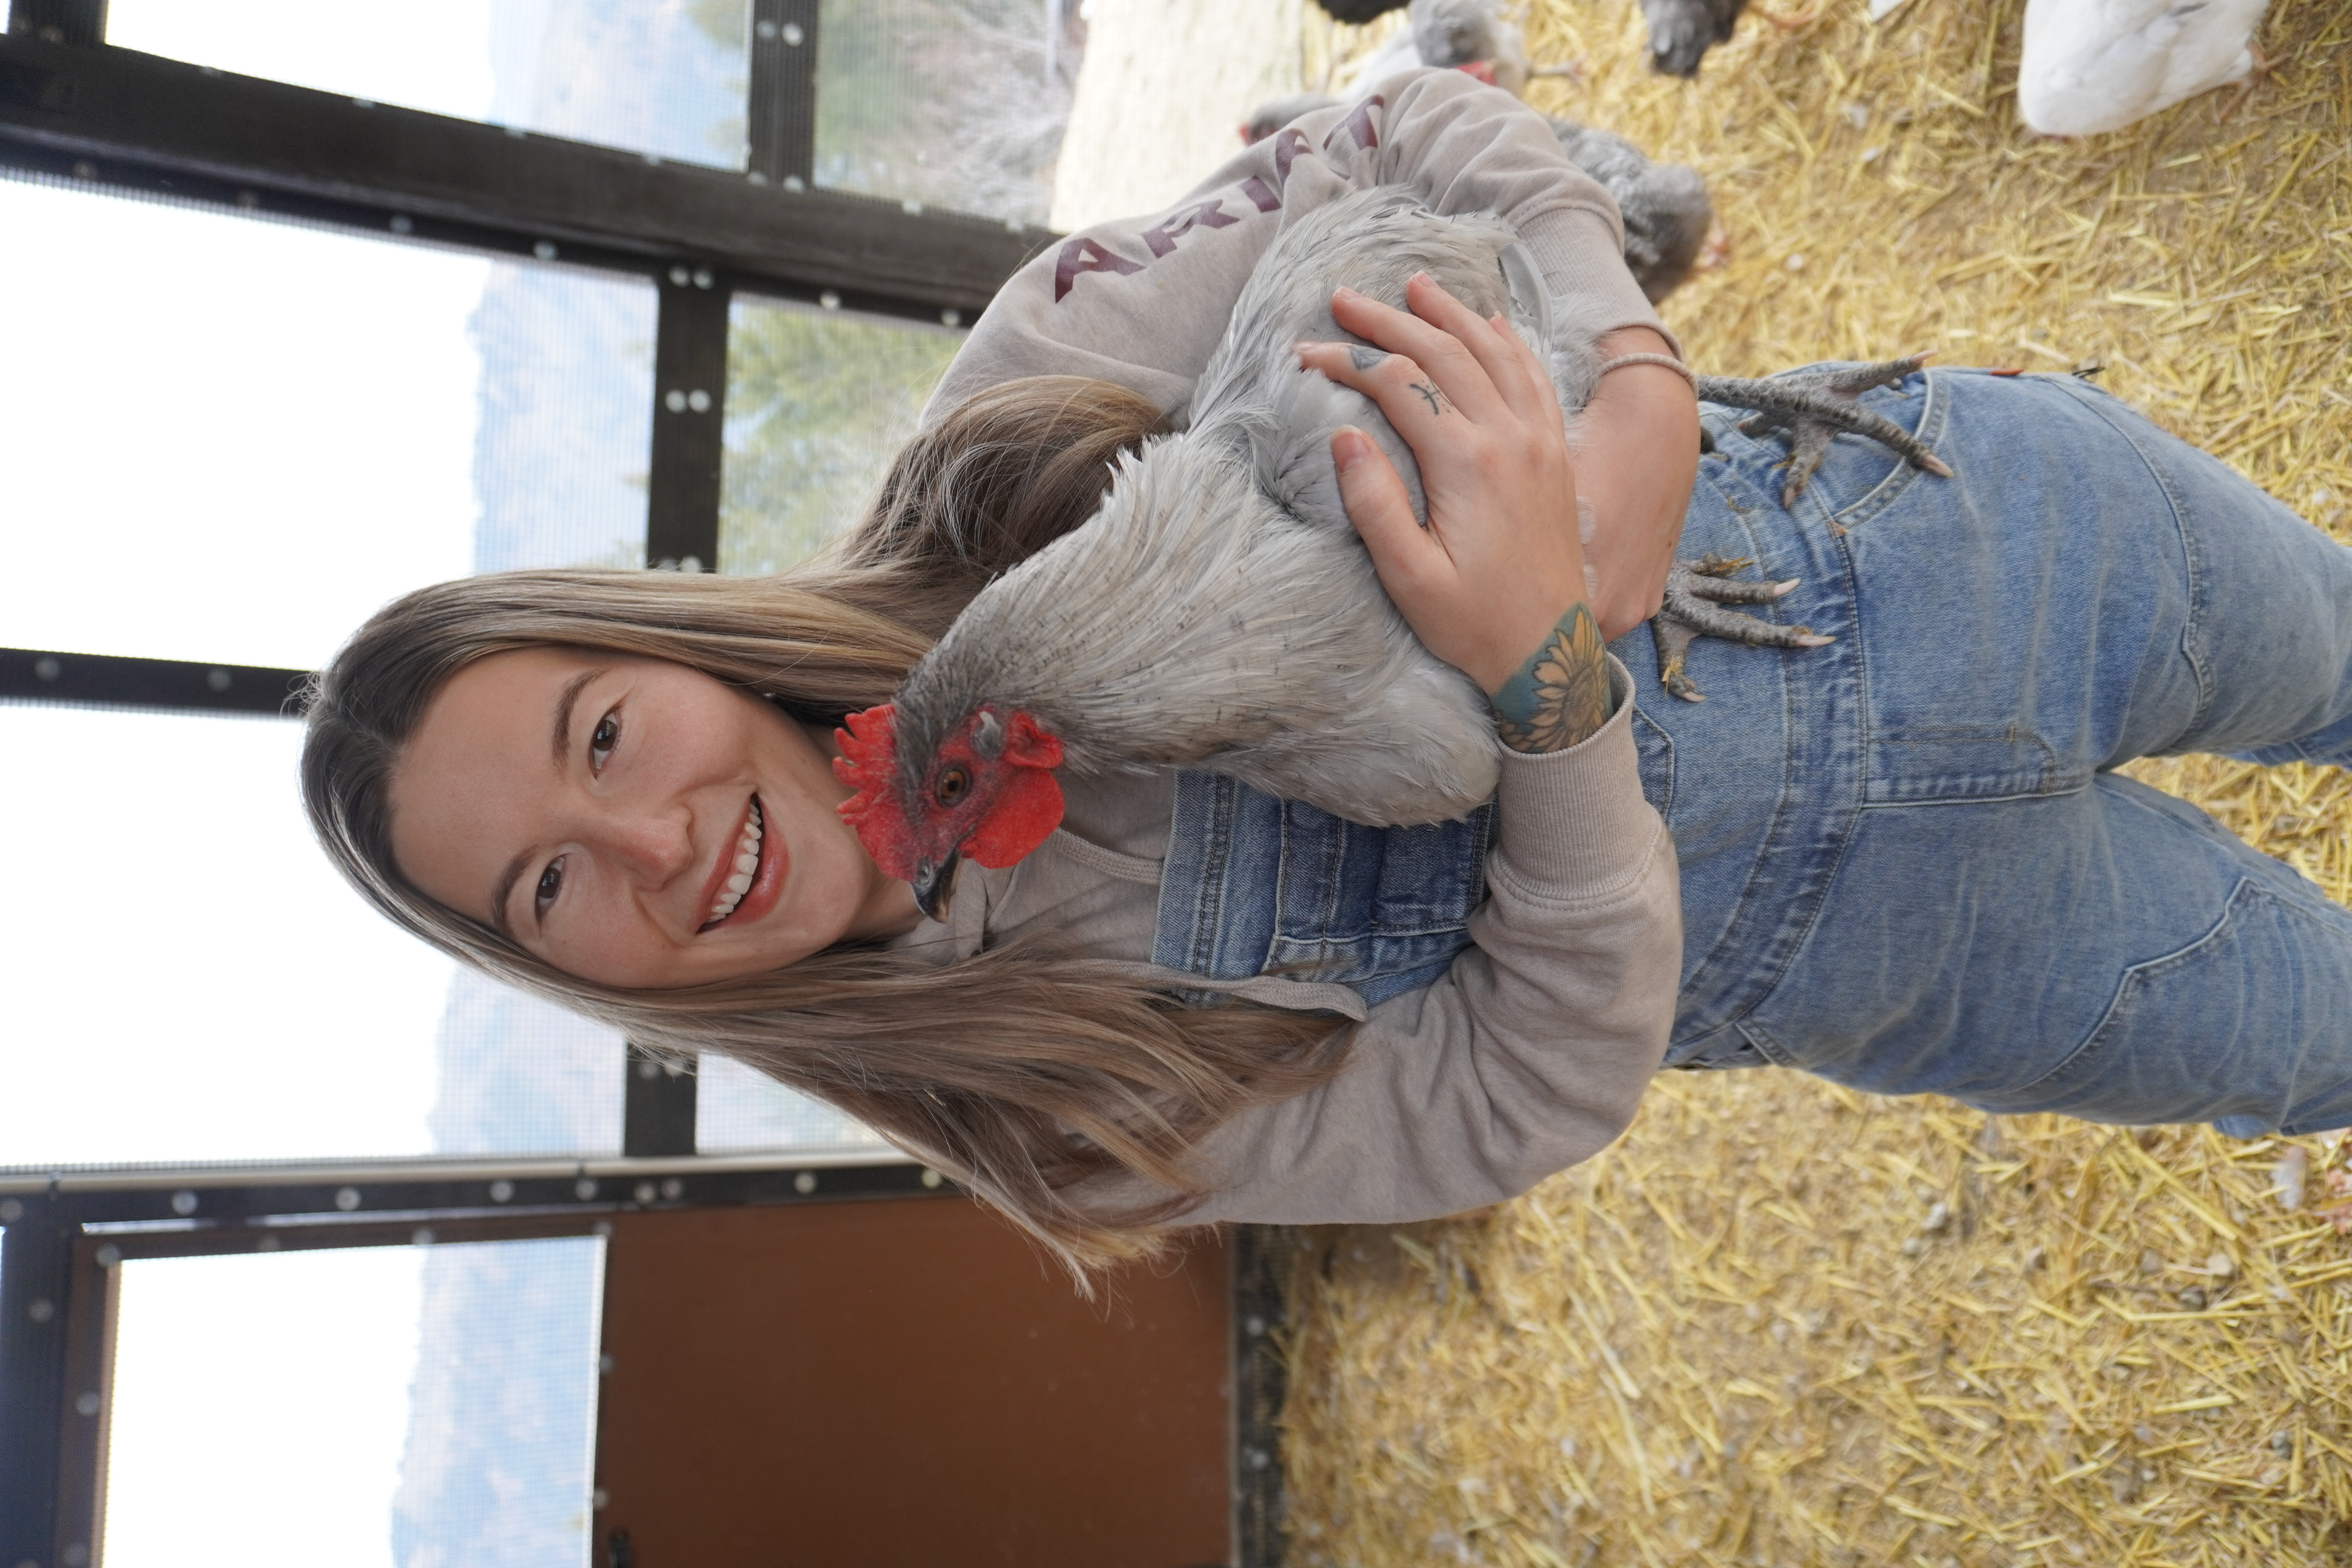
These days I live tucked into the Idaho mountains, off-grid by design. I have a flock of birds I hatched from eggs I collected from birds I raised. I have an indoor grow room and a greenhouse. I source feed with no soy, no corn, no seed oils. My birds free-range on actual Idaho ground every single day.
I didn't move here for the aesthetic. I moved here because the further I got from the supply chain, the better I felt about what I was putting in my body.

Green Thumb Guru
I grow what I eat because I don't trust what I can't trace.
I hatch my own flock because I want to know every part of the chain — what the parent birds ate, what the ground looked like, what went into the egg that went into my breakfast.
I source feed I can read the label on and actually understand. I grow mealworms for my birds because I'd rather know the protein source than trust a bag that says "natural ingredients."
This isn't a hobby. It's the most deliberate thing I do.

Community Builder
I'm not interested in chasing followers.
I'm interested in building a community of people who are asking the same questions I'm asking and doing something about it.
People who are done outsourcing their food supply to a system they don't fully trust.
People who are curious enough to look into it and stubborn enough to do something about it.
If that's you — you found the right page.
Why Trust ME
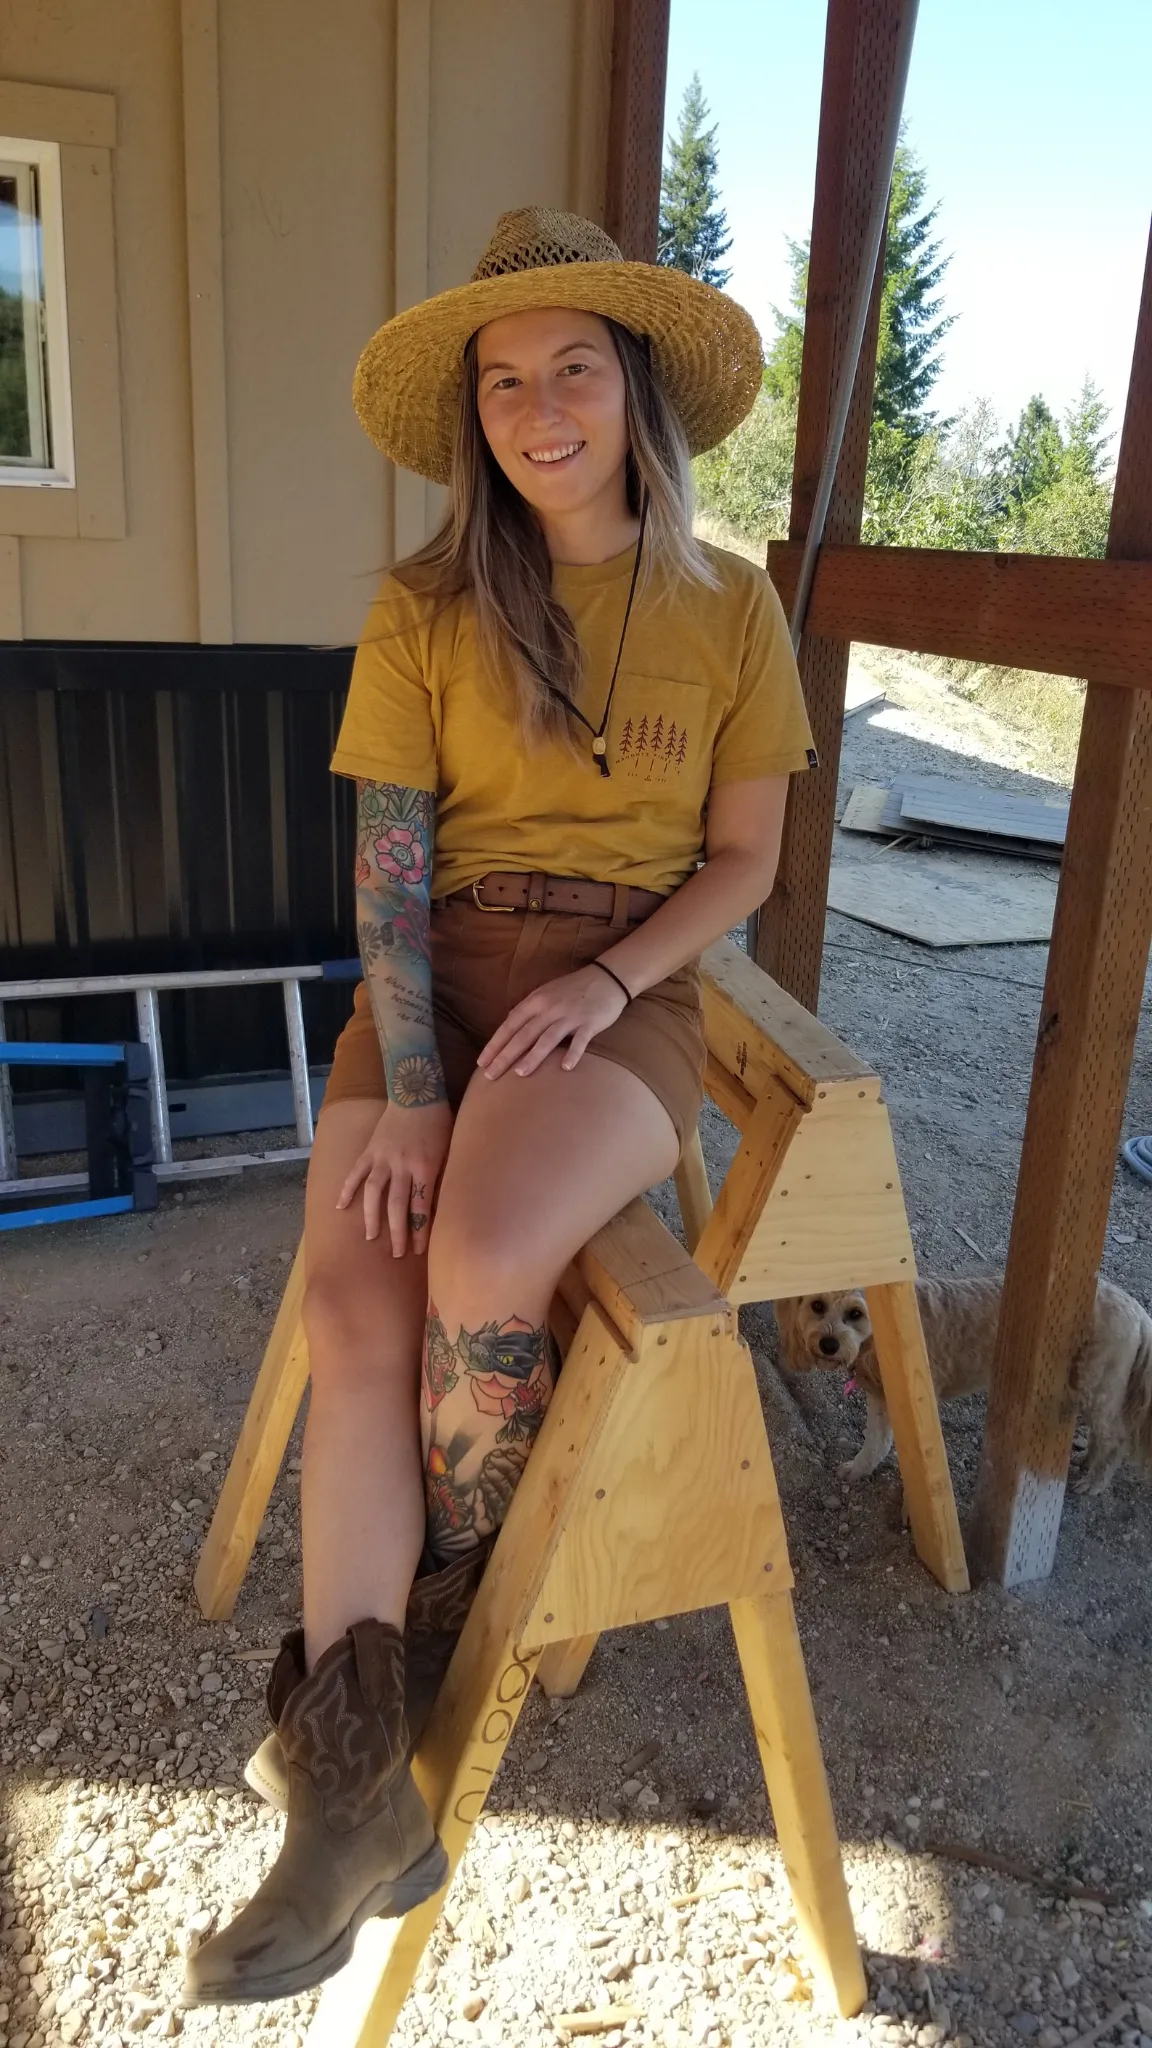
Because I'm not here to sell you a fantasy — I'm living the real thing.
I didn't grow up doing this. I learned the hard way: one frozen waterer, failed hatch, and rogue rooster at a time.
I built my homestead from scratch. Off-grid. In the mountains. With no blueprint and a lot of trial and error.
Here's what I know now that I didn't know then:
The information is out there. But most of it is either dressed up past the point of being useful, or so overwhelming it makes you want to give up before you start.
I share everything — what worked, what failed, what I'd do differently. From mealworms to meat birds. Soil to coop automation. Incubation humidity to lockdown day 18.
I'm not a guru. I'm someone who got fed up with the system, decided to build a way out of it, and documented everything along the way so you don't have to figure it all out alone.
Growing your own food is the most radical act of self-preservation we have left. I take that seriously, and you should too.
So if you want someone who gets it — someone who's walked through the overwhelm and is still walking, still building, still learning — You're in the right place.
Why choose my course
Because Googling every chicken question at midnight isn’t a strategy.
My "Hatch to Harvest" course is the guide I wish I had when I started. Googling your way through a hatch at midnight isn't a system. It's a prayer.
I built Hatch to Harvest because when I started, I couldn't find a single resource that covered the full process — from picking the right egg to harvest day — without either dumbing it down or leaving out the parts that matter.
This is the course I built for myself and made available because you deserve more than a patchwork of YouTube videos and Facebook group opinions.
Everything from brooder setup to harvest. Every step in order. Hard-earned from doing it myself, off-grid, without a team.
It's not for people who want to dabble. It's for people who are ready to raise their own meat, know exactly what they're eating, and stop depending on a supply chain they can't see.
What problems can I solve
If you've ever felt any of this — keep reading...
Overwhelmed by conflicting advice and not sure who to actually trust.
Frustrated by courses that cost a lot and assume you already know things.
Ready to raise your own food but not sure where the first step is.
Done trusting labels and wanting to know the full chain from seed, egg, or chick to what's on your plate.
Suspicious that the food system isn't as stable as everyone says — and wanting to build something that doesn't depend on it.
I've been all of those things.
I'll walk you through every part of this — chickens, food, systems, sourcing — with clear practical steps from someone who's done it the hard way and figured out what actually works.
This isn't about being perfect. It's about being less dependent. One bird, one harvest, one skill at a time.
Read The Blog
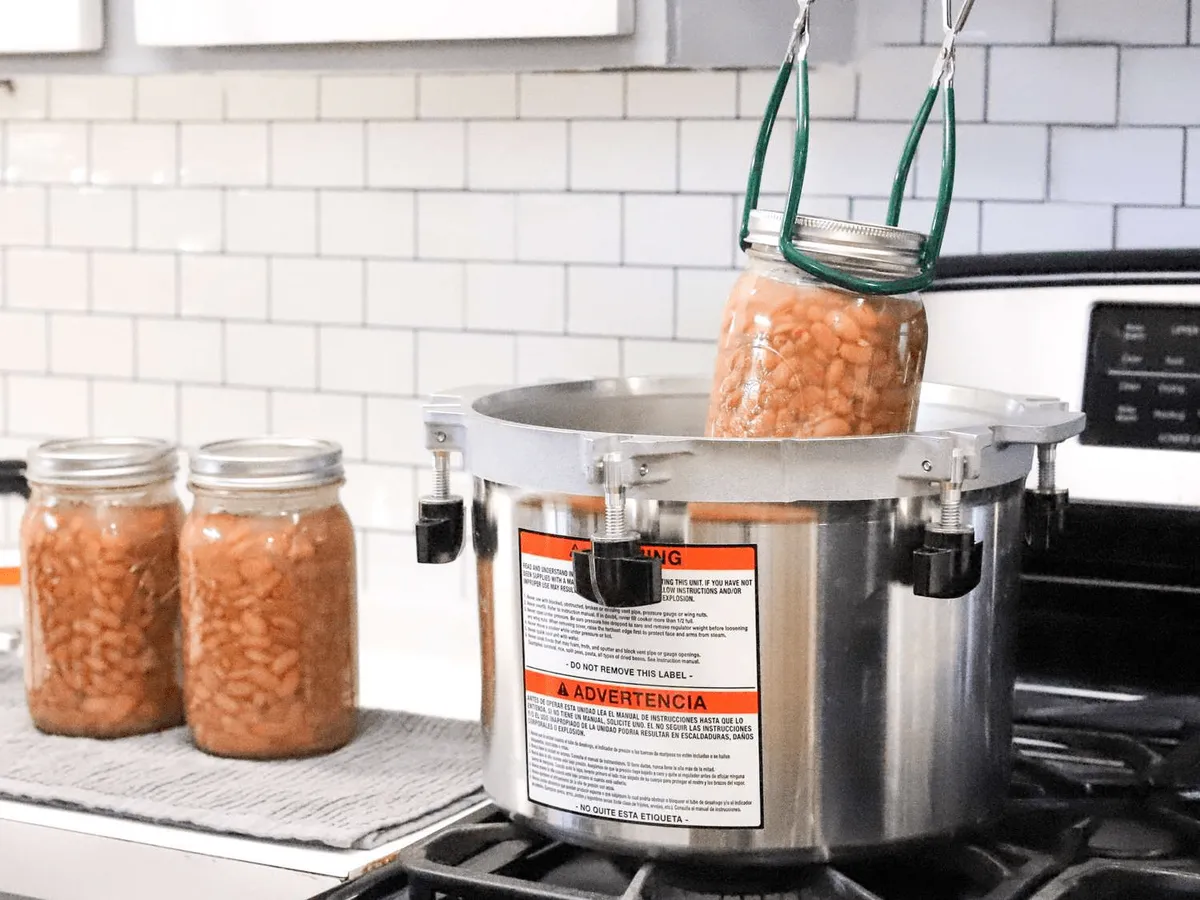
Safe Food Preservation for Beginners: Freeze, Dry, Store, or Can
Safe Food Preservation for Beginners: Freeze, Dry, Store, or Can
Harvest season can create a strange kind of pressure. Food is ready now, but your time, equipment, recipes, and energy may not be. The answer is not to preserve everything. The answer is to choose a safe method for the food you have and the life you actually live.
Freezing, drying, fermenting, cool storage, and canning can all be useful. None is automatically the best method for every household or every crop.
Food preservation is not a race. It is a process of managing quality, safety, time, and future use.
First decide whether you need to preserve it
Before starting a project, ask three questions:
- Will we eat this food later?
- Can we preserve it safely with the equipment and time available?
- Is the preserved form more useful than buying it later?
If the answer is no, share it, compost it, leave it for wildlife where appropriate, or accept that some food will not be saved. Throwing away a portion of an oversized harvest is frustrating, but spending hours preserving food that nobody eats is also waste.
Melissa K. Norris recommends planning preservation around what the household actually eats rather than preserving the largest possible amount. Her food preservation planning resource emphasizes planning ahead and breaking the work into smaller sessions.
Match the method to the food
Freezing
Freezing is often approachable because it can handle small batches and does not require a shelf-stable canning recipe. It does require reliable freezer space, packaging that limits air exposure, labeling, and a backup plan for power loss.
Some vegetables need preparation such as blanching before freezing to help maintain quality. Follow a current, tested guide for the specific food rather than assuming every vegetable should be packed raw.
Freeze food in quantities that match your meals. A large container may be cheaper per package but harder to thaw and use. Label the food, date, quantity, and any preparation notes.
Drying or dehydrating
Drying can reduce volume and create useful ingredients for soups, snacks, seasoning blends, or baking. The result depends on food preparation, slice thickness, temperature, airflow, moisture removal, and storage conditions.
A food that feels dry may still have enough moisture to mold if it is not fully dried or stored correctly. Use a current extension guide for the food and method. Store dried food in clean, appropriate packaging and check it periodically.
Cool or root-cellar storage
Some produce can be stored for a period of time under suitable temperature, humidity, ventilation, and darkness. This is not the same as putting produce in any basement or garage and hoping it lasts.
Utah State University Extension provides information on food storage in the home, including factors that affect storage. Check your actual space before relying on it. A warm room, pest access, or repeated temperature swings can shorten quality and create losses.
Fermentation
Fermentation requires a specific process, ingredients, time, and conditions. Use a tested recipe and understand signs of failure. Fermented foods are not automatically safe because they are homemade or because a jar has sealed.
Canning
Canning can create convenient shelf-stable food, but it is a science-based process. The acidity of the food, jar size, packing method, processing time, altitude, pressure, and equipment can all matter.
Treat canning instructions as safety instructions
The National Center for Home Food Preservation guidance explains why tested processes matter. The CDC home-canning guidance warns that botulinum toxin cannot be seen, smelled, or tasted and says not to taste food to decide whether it is safe.
Several rules are especially important:
- Use tested recipes from reliable sources.
- Do not casually alter the ratio of low-acid ingredients, acid, liquid, or processing time.
- Use the correct canning method for the food.
- Follow current instructions for jar size, processing time, pressure, and altitude.
- Inspect equipment and use it according to the manufacturer’s instructions.
- Label and date jars.
- Store jars in a clean, cool, dark place.
- If a jar is questionable, do not taste it. When in doubt, throw it out.
Low-acid foods such as many vegetables, meats, poultry, and seafood require particular care. The CDC states that pressure canning is the only recommended method for low-acid foods and warns against using boiling-water canning for those foods. Do not use a recipe from an old family notebook, social media comment, or search result unless it can be verified against current tested guidance.
What a sealed lid does not prove
A lid that seals indicates a vacuum may have formed. It does not prove that the food was processed safely. Safety depends on the full process, not on the appearance of the jar alone.
This is one reason canning panic is so unhelpful. Rushing, improvising, or processing more food than you can monitor increases the chance of mistakes. A smaller batch made carefully is better than a larger batch made under pressure.
Make a preservation plan before the harvest peaks
A simple plan can prevent the August scramble that many gardeners know. Create a list by crop:
| Crop | Fresh-use amount | Preservation method | Recipe or guide | Storage space | Use-by plan |
|---|---|---|---|---|---|
| Tomatoes | Weekly meals | Freeze or tested canning recipe | Specific source | Freezer or pantry | Sauces and soups |
| Herbs | Small bunches | Dry or freeze | Specific source | Jar or freezer | Everyday cooking |
| Beans | Fresh meals | Freeze or tested canning recipe | Specific source | Freezer or pantry | Side dishes |
The table does not need to be exact. Its purpose is to answer the questions that usually create panic: what will you do, when, with which equipment, and where will it go?
Break work into stages. Wash and sort the harvest. Use the best produce for the chosen method. Refrigerate what can safely wait. Process one manageable batch. Clean up before starting another. Melissa K. Norris notes that planning before the main harvest and dividing preservation into smaller sessions can make the season more manageable.
Preserve what fits your future meals
A jar, bag, or container is not a success unless it becomes food. Before preserving, write down how you will use it. Frozen greens may go into soup, eggs, pasta, or smoothies. Dried herbs may season pantry meals. Pickles may be used with sandwiches. Tomato sauce may support several dinners.
If you have no use for the result, preserve less. You can also preserve ingredients in forms that require less commitment. Freeze chopped vegetables in meal-sized portions rather than making a complicated recipe. Dry a small amount of herbs before investing in more equipment. Test one batch before filling a shelf.
The Reddit discussion about preservation methods is useful as a reminder that method choice depends on personal circumstances. Freezer space, electricity, climate, available time, cooking habits, and safety knowledge all affect the decision.
Learn one method well
If you are new to preservation, choose one method that fits your current situation. A freezer-based plan may be the most practical starting point for one household. Another may prefer drying or cool storage. Someone who wants to can should begin with a tested recipe and a basic understanding of the equipment rather than jumping into a large batch of low-acid foods.
Use extension resources, the National Center for Home Food Preservation, or a qualified local class. Utah State University Extension’s Preserve the Harvest site offers preservation resources and courses.
Do not let fear stop you from learning, but do not let enthusiasm bypass safety.
Your first action this week
Choose one crop or grocery item you already use. Find a current, tested preservation method. Make the smallest practical batch. Label it and write down whether your household actually uses it.
For a printable planning tool, add a [link to Annie’s Homestead preservation calendar]. For safe canning education, add a [link to Annie’s Homestead canning basics course], provided the linked material clearly directs readers to tested recipes and current safety guidance.
Food preservation should make future meals easier. If the project leaves you exhausted, uncertain, or surrounded by food you do not want, the method needs to change.
Annie's Homestead is not affiliated by Facebook™ in any way. Facebook™ is a registered trademark of Facebook™ Inc
Branding and Website by RoyalT Studio