


Hey, I'm Annie
I'm not here to sell you a fantasy version of homestead life.
I'm living the real thing — off the grid, in the Idaho mountains, with a flock I hatched myself, a grow room, a greenhouse, and a very strong opinion about what's in your food.
If you found me through the chemtrail content — welcome.
If you found me through the chicken content — also welcome.
They're the same page. Stick around and you'll see why.

Midwest girlie
I grew up in South Dakota. Real food came from someone you knew. Slow living wasn't a trend — it was just Tuesday.
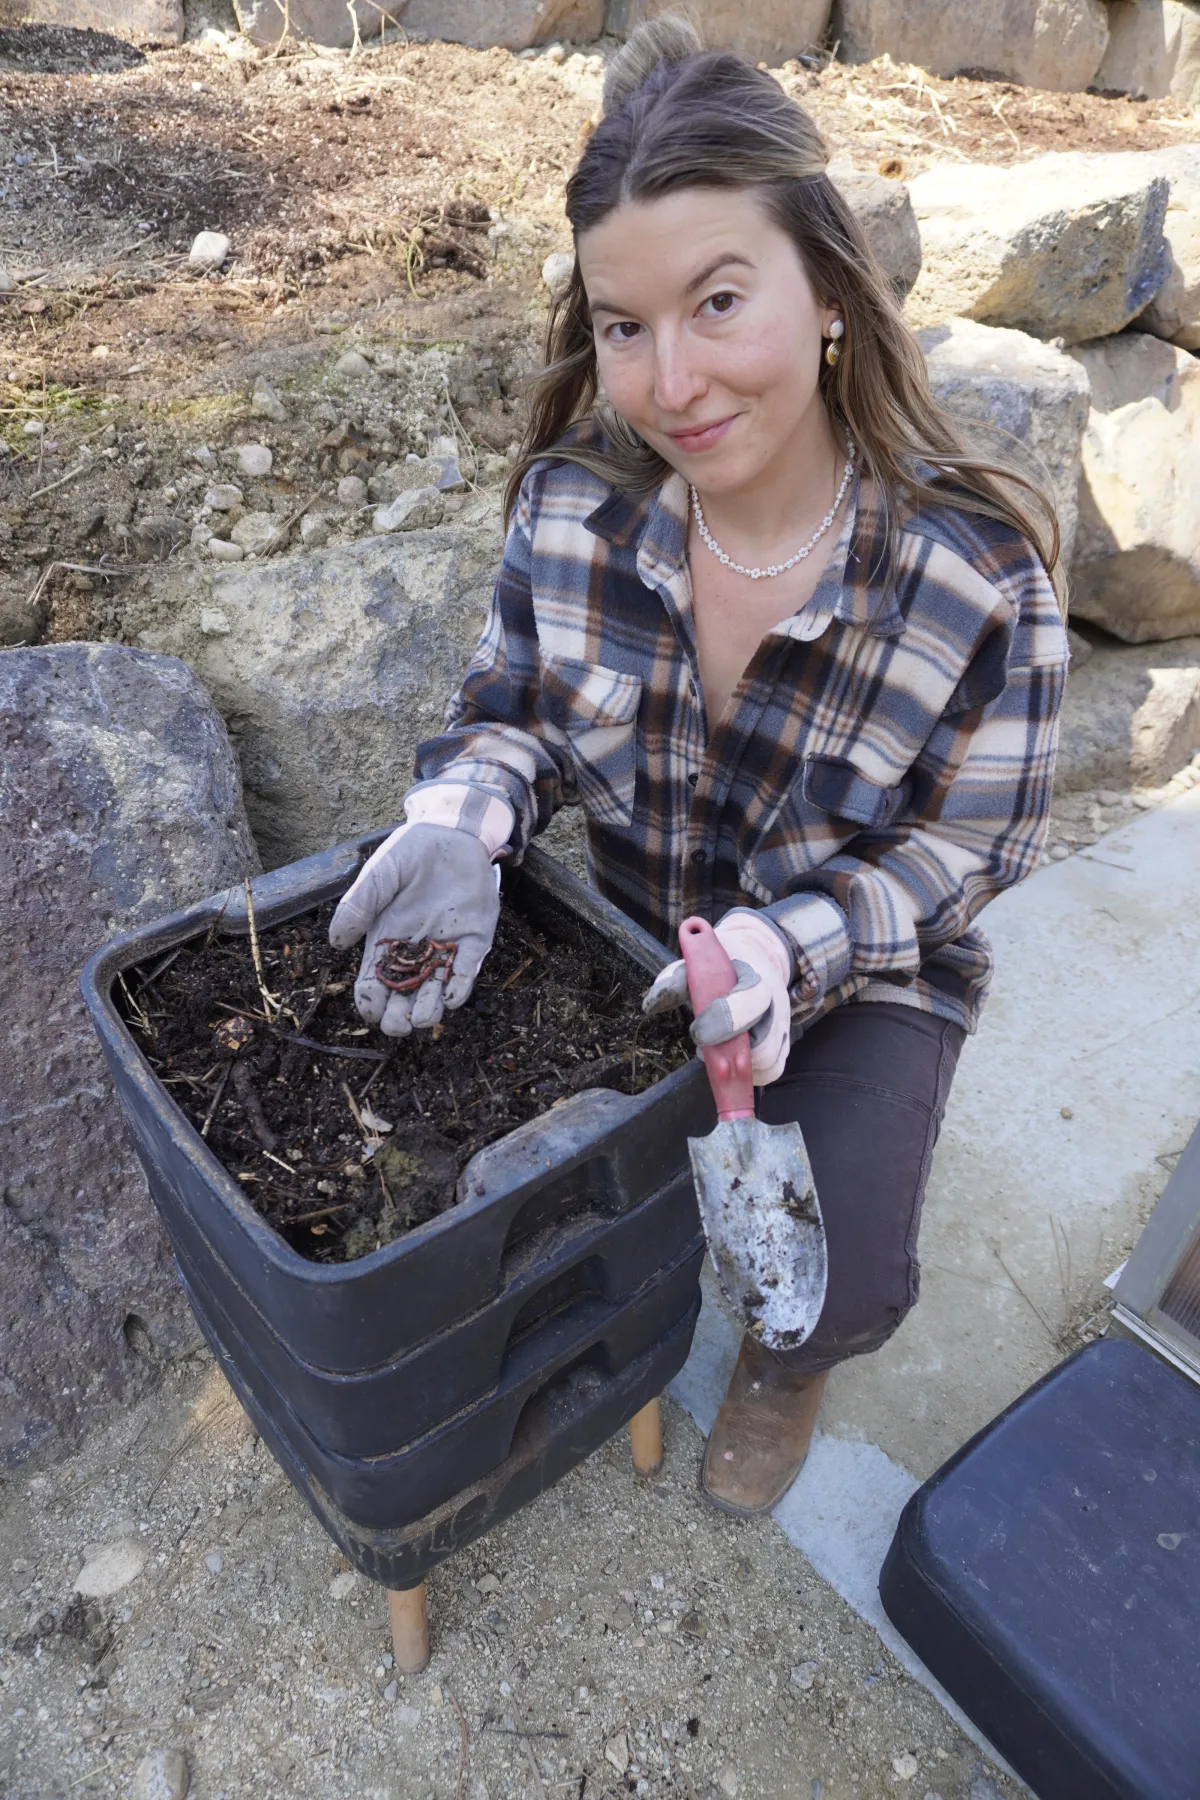
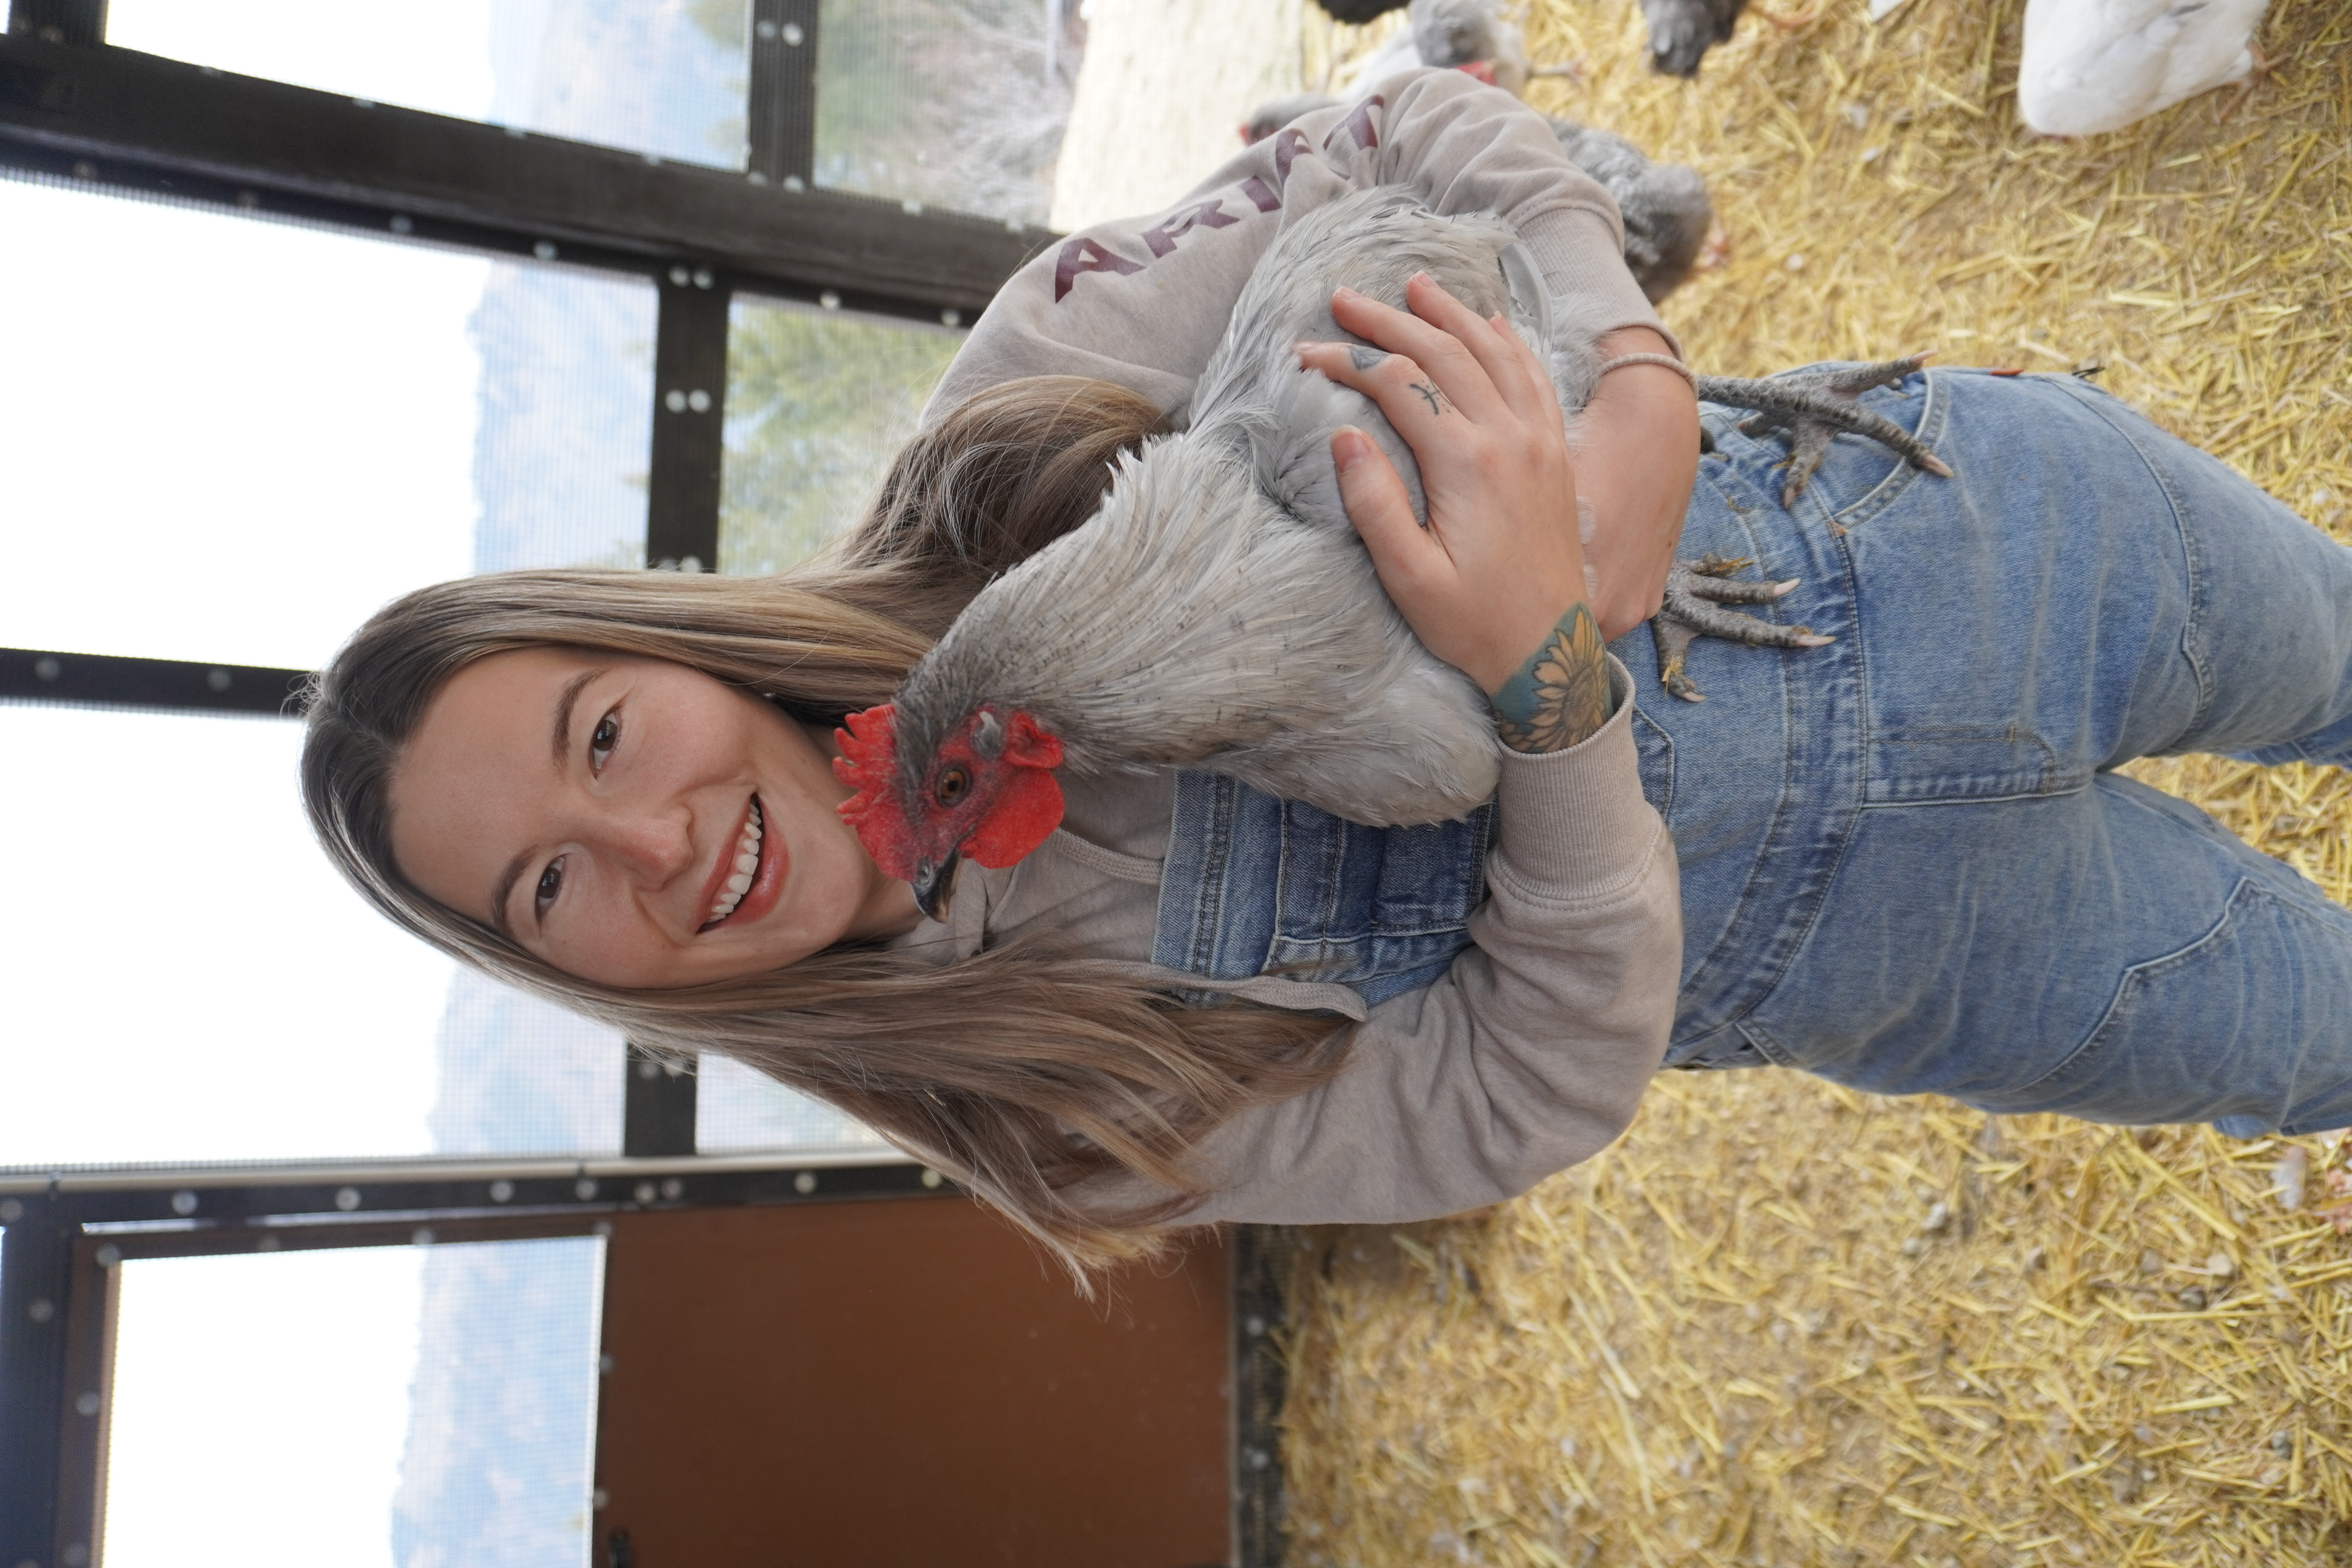
These days I live tucked into the Idaho mountains, off-grid by design. I have a flock of birds I hatched from eggs I collected from birds I raised. I have an indoor grow room and a greenhouse. I source feed with no soy, no corn, no seed oils. My birds free-range on actual Idaho ground every single day.
I didn't move here for the aesthetic. I moved here because the further I got from the supply chain, the better I felt about what I was putting in my body.

Green Thumb Guru
I grow what I eat because I don't trust what I can't trace.
I hatch my own flock because I want to know every part of the chain — what the parent birds ate, what the ground looked like, what went into the egg that went into my breakfast.
I source feed I can read the label on and actually understand. I grow mealworms for my birds because I'd rather know the protein source than trust a bag that says "natural ingredients."
This isn't a hobby. It's the most deliberate thing I do.

Community Builder
I'm not interested in chasing followers.
I'm interested in building a community of people who are asking the same questions I'm asking and doing something about it.
People who are done outsourcing their food supply to a system they don't fully trust.
People who are curious enough to look into it and stubborn enough to do something about it.
If that's you — you found the right page.
Why Trust ME
Because I'm not here to sell you a fantasy — I'm living the real thing.
I didn't grow up doing this. I learned the hard way: one frozen waterer, failed hatch, and rogue rooster at a time.
I built my homestead from scratch. Off-grid. In the mountains. With no blueprint and a lot of trial and error.
Here's what I know now that I didn't know then:
The information is out there. But most of it is either dressed up past the point of being useful, or so overwhelming it makes you want to give up before you start.
I share everything — what worked, what failed, what I'd do differently. From mealworms to meat birds. Soil to coop automation. Incubation humidity to lockdown day 18.
I'm not a guru. I'm someone who got fed up with the system, decided to build a way out of it, and documented everything along the way so you don't have to figure it all out alone.
Growing your own food is the most radical act of self-preservation we have left. I take that seriously, and you should too.
So if you want someone who gets it — someone who's walked through the overwhelm and is still walking, still building, still learning — You're in the right place.

Why choose my course
Because Googling every chicken question at midnight isn’t a strategy.
My "Hatch to Harvest" course is the guide I wish I had when I started. Googling your way through a hatch at midnight isn't a system. It's a prayer.
I built Hatch to Harvest because when I started, I couldn't find a single resource that covered the full process — from picking the right egg to harvest day — without either dumbing it down or leaving out the parts that matter.
This is the course I built for myself and made available because you deserve more than a patchwork of YouTube videos and Facebook group opinions.
Everything from brooder setup to harvest. Every step in order. Hard-earned from doing it myself, off-grid, without a team.
It's not for people who want to dabble. It's for people who are ready to raise their own meat, know exactly what they're eating, and stop depending on a supply chain they can't see.
What problems can I solve
If you've ever felt any of this — keep reading...
Overwhelmed by conflicting advice and not sure who to actually trust.
Frustrated by courses that cost a lot and assume you already know things.
Ready to raise your own food but not sure where the first step is.
Done trusting labels and wanting to know the full chain from seed, egg, or chick to what's on your plate.
Suspicious that the food system isn't as stable as everyone says — and wanting to build something that doesn't depend on it.
I've been all of those things.
I'll walk you through every part of this — chickens, food, systems, sourcing — with clear practical steps from someone who's done it the hard way and figured out what actually works.
This isn't about being perfect. It's about being less dependent. One bird, one harvest, one skill at a time.
Read The Blog
How to Build a Two-Week Food Supply That You’ll Actually Use
How to Build a Two-Week Food Supply That You’ll Actually Use
A useful food buffer does not begin with a warehouse-sized pantry or an expensive bulk order. It begins with a clear look at what you already eat, what you already have, and what would make an ordinary difficult week easier.
If food prices, weather, illness, work changes, or transportation problems have made grocery shopping feel less predictable, a two-week food supply is a reasonable first milestone. It is large enough to create breathing room but small enough to build gradually. From there, you can decide whether a 30-day buffer fits your household, budget, and storage space.
The goal is not to buy food for an imaginary family with different tastes. The goal is to make your real meals more resilient.
Start with an honest pantry inventory
Before buying anything, inventory the food already in your home. Include kitchen cabinets, the refrigerator, freezer, basement shelves, garage storage, and any overflow bins. You do not need a beautiful spreadsheet. A notebook, phone note, or simple printed list is enough.
Group food by how you use it rather than only by where it is stored:
- Breakfast foods
- Grains, pasta, rice, and other starches
- Proteins
- Canned vegetables and fruit
- Cooking fats and oils
- Baking ingredients
- Snacks and comfort foods
- Beverages
- Foods for allergies, medical needs, infants, or pets
Record the quantity and condition. Mark anything expired, damaged, unfamiliar, or unlikely to be eaten. Do not count food that requires equipment, ingredients, or skills you do not have. A bag of dry beans is part of your buffer only if you have a way to cook it and your household will actually eat it.
Count meals, not just containers
A shelf full of cans does not automatically equal two weeks of food. Estimate meals instead.
Ask:
- How many people and animals are you feeding?
- How many breakfasts, lunches, dinners, and snacks could this food support?
- Which ingredients would run out first?
- What meals could be made if the grocery store were unavailable for several days?
- What would be difficult without refrigeration, electricity, or running water?
For example, you might have plenty of pasta but very little sauce, oil, protein, or vegetables. You might have frozen meat but no backup plan if the freezer loses power. You might have baking supplies but not enough everyday meals. The inventory is meant to expose those gaps without turning them into a reason for panic.
Choose your two-week baseline
A two-week buffer should be based on normal household eating patterns. Start with the meals your household already accepts. Familiar food is often more useful during stressful circumstances than a collection of ingredients chosen because they seem shelf-stable.
Build a simple meal map for fourteen days. It does not need to assign every meal in advance. Instead, list repeatable combinations such as:
- Oatmeal, cereal, or toast with a shelf-stable topping
- Rice or pasta with canned, frozen, or dried vegetables and a protein
- Soup, chili, or stew
- Beans and rice
- Tortillas, crackers, or bread with tuna, eggs, cheese, or nut butter
- Pancakes, muffins, or other baking-based meals
- Shelf-stable fruit and snacks
Include foods that make the plan livable. Coffee, tea, seasonings, familiar snacks, and easy meals are not automatically frivolous. A buffer that contains only difficult ingredients may be technically impressive and practically ignored.
Add foods for real constraints
A food plan should account for the people who will use it. Include allergy-safe foods, texture preferences, medications that must be taken with food, infant feeding needs, pet food, and any dietary or cultural requirements.
Also consider preparation. If someone in the home cannot stand for long periods, a plan that requires hours of cooking may not work. If power outages are common, include foods that can be eaten with limited cooking. If water storage is limited, avoid building the entire plan around foods that require extensive soaking and boiling.
Build in stages: two weeks first, then 30 days
The New Whole Earth describes food resilience as something that can be built one month at a time rather than purchased all at once. That is a useful way to frame the work. Read the article here.
A practical sequence is:
Stage one: Fill the immediate gaps
Complete the meals your inventory already almost supports. If you have pasta but no sauce, buy sauce. If you have rice but no protein, add beans, canned fish, meat, tofu, or another option your household uses. If breakfast is the weak point, solve breakfast before buying another category of food.
Stage two: Add one extra of what you use
When a regular item is on sale or fits the budget, buy one extra. Use the older item first and place the new item behind it. This grows the buffer without requiring a large purchase.
Stage three: Reach 30 days selectively
Once two weeks feels manageable, extend the categories that disappear first. You do not need four times as much of every item. A 30-day supply may mean more breakfast food, cooking oil, protein, and pet food, while fresh foods continue to come from normal shopping or local sources.
USDA Economic Research Service food price data can help explain why households notice changes in grocery costs, but forecasts are not a reason to make dramatic purchases. The USDA Food Price Outlook reports observed and forecast changes with uncertainty ranges. Use that kind of information as context, not as a signal to empty your bank account.
Shop for a buffer without creating waste
The cheapest food is not always the food you will use. Compare the cost per serving, shelf life, storage requirements, and likelihood of being eaten.
A few rules help:
- Buy normal package sizes before bulk sizes.
- Test unfamiliar foods before storing large quantities.
- Avoid stocking more than you can store in a cool, dry, pest-resistant place.
- Keep a small budget for the buffer rather than treating it as an emergency purchase.
- Add foods during ordinary shopping trips.
- Use store sales only when the item is already part of your meals.
- Track dates without assuming every printed date means the food is unsafe.
Water deserves separate attention. Food storage plans often focus on calories while ignoring the water required for drinking, cooking, cleaning, and medication. Storage needs depend on household size, climate, health, and the emergency being considered. Review local emergency guidance and the Utah State University Extension food storage resource before setting a household water target.
Give the pantry a rotation home
A buffer fails when the stored food disappears behind newer purchases. Choose one shelf, cabinet, closet, or set of bins as the active buffer area. Label categories and keep older items at the front.
Once a week, move one stored item into a planned meal. Once a month, check for damaged packaging, temperature problems, pests, and foods that your household no longer wants. Replace what you use during normal shopping.
This is the beginning of a rotation system, not an additional chore. If your storage method requires a weekly project you will avoid, simplify it.
What not to do
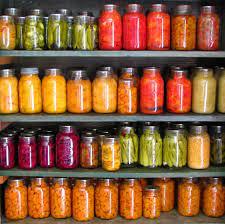
Do not buy a year of food because a photo online made it look reassuring. A viral stocked cellar can be inspiring, but it does not show the reader’s budget, labor, climate, equipment, household size, or years of accumulated work. The Cool Down’s discussion of a stocked cellar makes the same important point: a full cellar is not a realistic starting requirement for every household.
Do not build a pantry around foods you dislike. Do not ignore water or cooking fuel. Do not use credit for a large stock-up that creates financial stress. Food resilience is weaker when the purchase undermines rent, medication, utilities, or debt payments.
Your first action this week
Set a timer for thirty minutes and inventory one food zone. Write down what you have, what you eat, and the three gaps that would matter most in a difficult week. Then buy or plan only the first gap.
For more detail, use a [link to Annie’s Homestead pantry inventory guide]. If you want help turning your inventory into meals, add a [link to Annie’s Homestead meal-planning resource].
A practical food buffer is not a test of how much you can endure. It is a small system that makes ordinary disruptions less disruptive. Start with two weeks. Learn what works. Then decide whether 30 days is useful for your household.

Annie's Homestead is not affiliated by Facebook™ in any way. Facebook™ is a registered trademark of Facebook™ Inc
Branding and Website by RoyalT Studio